The Account Register
This view lets you manage your transactions for an account. Consult the Accounts & Transaction section in the manual for detailed information on how to work with this view.
The Account Header
To rename the account, click on the pencil icon that appears when you hover over the account name. Clicking on the note icon lets you add a note. Actual fully supports Markdown and the note will be rendered according to your Markdown when the cursor is hovering over the note.
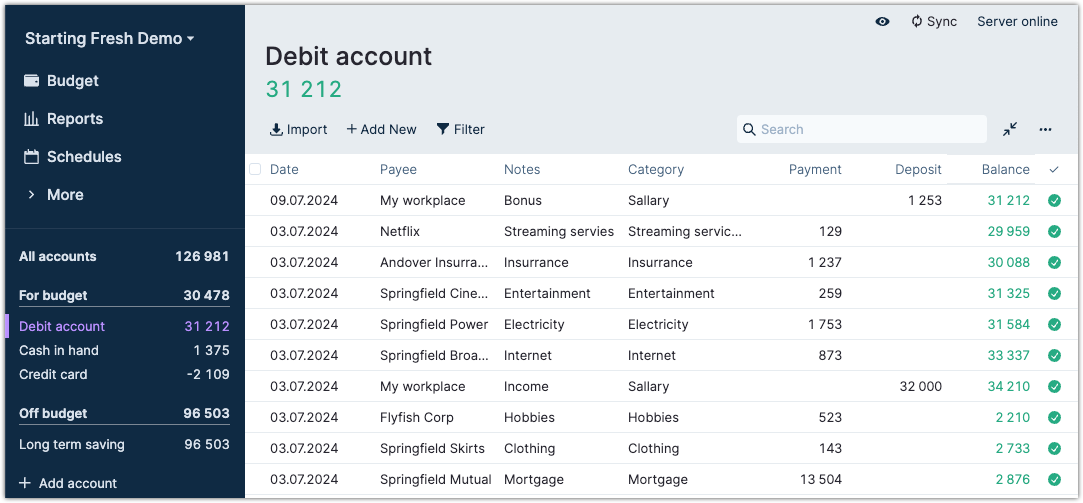
Below the account name, you'll see the current balance. Green indicates a positive account balance, and red indicates a negative balance. A chevron will appear if you hover over the balance with the cursor. Clicking on this will reveal the values for both cleared and uncleared totals. See the reconciliation topic in the manual for more information.
The top section also gives you access to several functions like importing transactions, manually adding new transactions, and filtering what transactions you see. On the right side you'll find the Search field which lets you quickly search all fields.
It is possible to split a transaction into more than one category. By clicking on the expand/contract arrows, seen in the yellow box, you will be able to show or hide split transactions.
The three horizontal dots, shown in the blue box, will allow you to perform various manipulations on the account. These range from reconciling and exporting your account to closing and linking your account for automatic bank transactions. This is also where you can show the account's running balance (as seen in the first screenshot on this page). You can also hide/show both reconciled transactions as well as the cleared checkbox column to the far right of the transaction's row.

Clicking on Import will let you import transactions from CSV, QIF, OFX and QFX files.
Manually adding transactions can be done by clicking on Add New. The Payee and the Category fields will provide a dropdown menu of available options. You can add new payees directly from this view, but if you need to add a new category, you can only do so from the Budget View.
Filtering on transactions
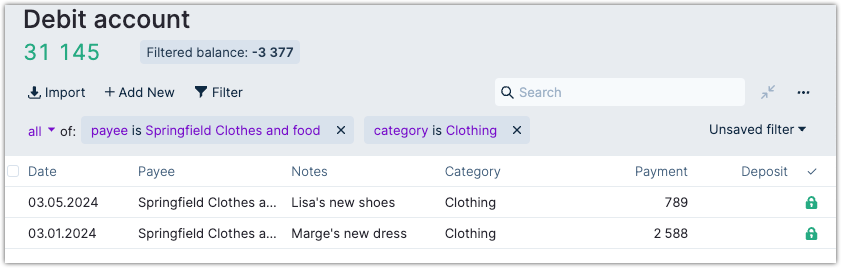
Clicking on the Filter lets you filter on all the fields. In the screenshot, we see that we filtered for where the Payee is Springfield Clothes and food and the Category equals just Clothing.
If you are filtering for the same things over and over, you can save your filter by clicking on the Unsaved filter dropdown on the right side in the header. Provide a name to save the filter under for future use.
Consult filtering transactions in the manual for more information.
Working on selected transactions
You can select transactions by clicking on the checkbox - just to the left of the date field. When transactions are selected, you'll see the balance of the selected transactions to the right of the account's balance.
The number of selected transactions is shown in the red box. If you click on this dropdown, you can perform various commands on these transactions.
Another powerful feature allows you to do bulk editing.