Tips & Tricks
Undo/Redo
If you ever make a mistake, pressing
Context Menus
Context menus (right-click menus) are available throughout Actual. Use the method based on your operating system and/or hardware to access them.
Keyboard Shortcuts
Actual has a number of keyboard shortcuts that can help you navigate and manage the application more efficiently.
The Command Palette
The Command Palette is a powerful tool which allows you to quickly access various features and functions within Actual.
- Open it by pressing the combination.CtrlK
- On macOS keyboards, use the key combination.CmdK

Once open, you can start typing to search for the functions in the sidebar, or you can use the arrow keys to navigate through the list of available commands. You can also quickly move to any of the available accounts by typing their name.
General shortcuts
- will open the help menu. The Help Menu contains links to the Documentation, Community support (Discord) and the Keyboard shortcuts.?
- (the letter O, not zero) this will close the budget and list other available budgets to open.CtrlO
- Toggle the privacy filter.CtrlP
- Open Command Palette.CtrlK
- Undo.CtrlZ
- Redo.CtrlShiftZ
Budget page shortcuts
- while editing a budget amount will move to the next category.Enter
- Move to the previous budget category.ShiftEnter
- (zero) View the current month.0
- View the previous month.←
- View the next month.→
Account page shortcuts
- Initiate bank sync.CtrlB
- ( i ) Import transactions.CtrlI
- Add new transaction with date picker open.T
- Show only selected transactions. If no transaction is selected, it brings up the Filter dropdown menu.F
Selection shortcuts
- Toggle selection of all transactions or deselection of all selected transactions.CtrlA
- Toggle selection of current transaction.Space
- Select all transactions between current transaction and most recently selected transaction.ShiftSpace
- orJWith a transaction selected, move to the next transaction down. Hold to scroll down.↓
- orKWith a transaction selected, move to the next transaction up. Hold to scroll up.↑
Transaction shortcuts
- when editing will move down. In a dropdown, this will save the value and close the dropdown. in either the Payment or Deposit columns this will add the transaction; the form remains open for the next addition.Enter
- when editing will move up. In a dropdown, this will save the value and close the dropdown.ShiftEnter
- will add the transaction and close the form regardless of where you are editing.CtrlEnter
- when editing will move right. This will save the value and close an open dropdown.Tab
- when editing will move left. This will save the value and close an open dropdown.ShiftTab
When Managing Transactions
Transaction(s) must be selected for the following shortcuts, or as noted.
See Bulk Actions for guidance on working with multiple transactions.
- Open date picker and set date for selected transactions.E
- Set payee for selected transactions.P
- Set notes for selected transactions.N
- Set category for selected transactions.C
- Set amount for selected transactions.M
- Toggle cleared status for selected transactions.L
- Set account for selected transactions.A
- Link or view schedule for selected transactions.S
- Show only selected transactions. If no transaction is selected, it brings up the Filter dropdown menu.F
- Delete selected transactions.D
- Duplicate selected transactions.U
- Merge selected transactions. Only two transactions with equal amounts can be selected. Learn more.G
- Make transfer from selected transactions. Only two valid conjugate transactions can be selected. Learn more.R
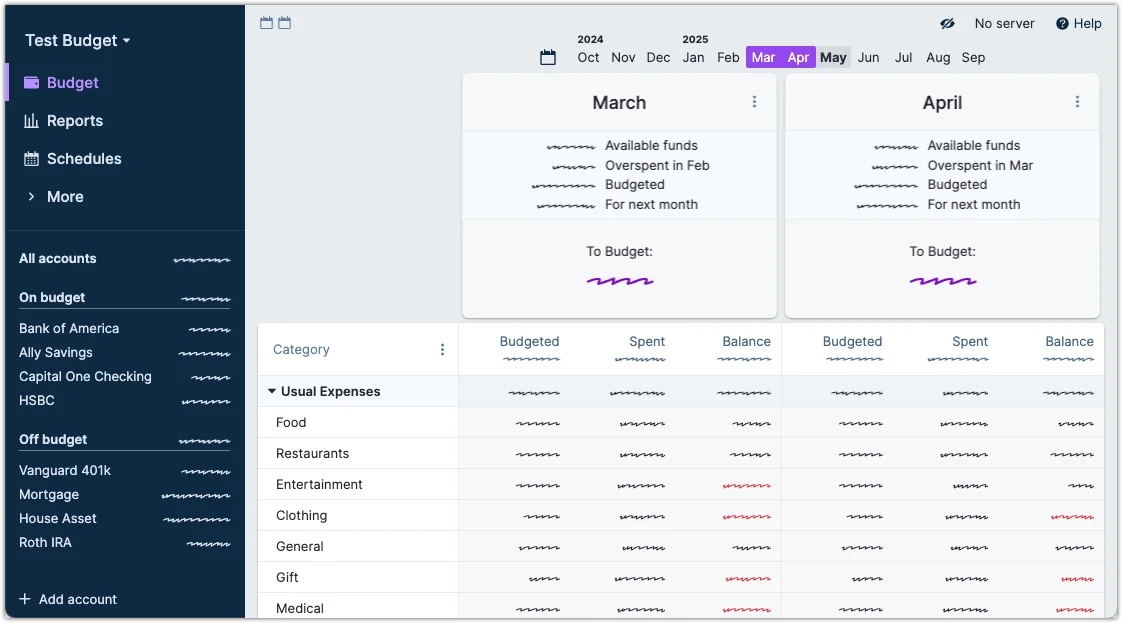
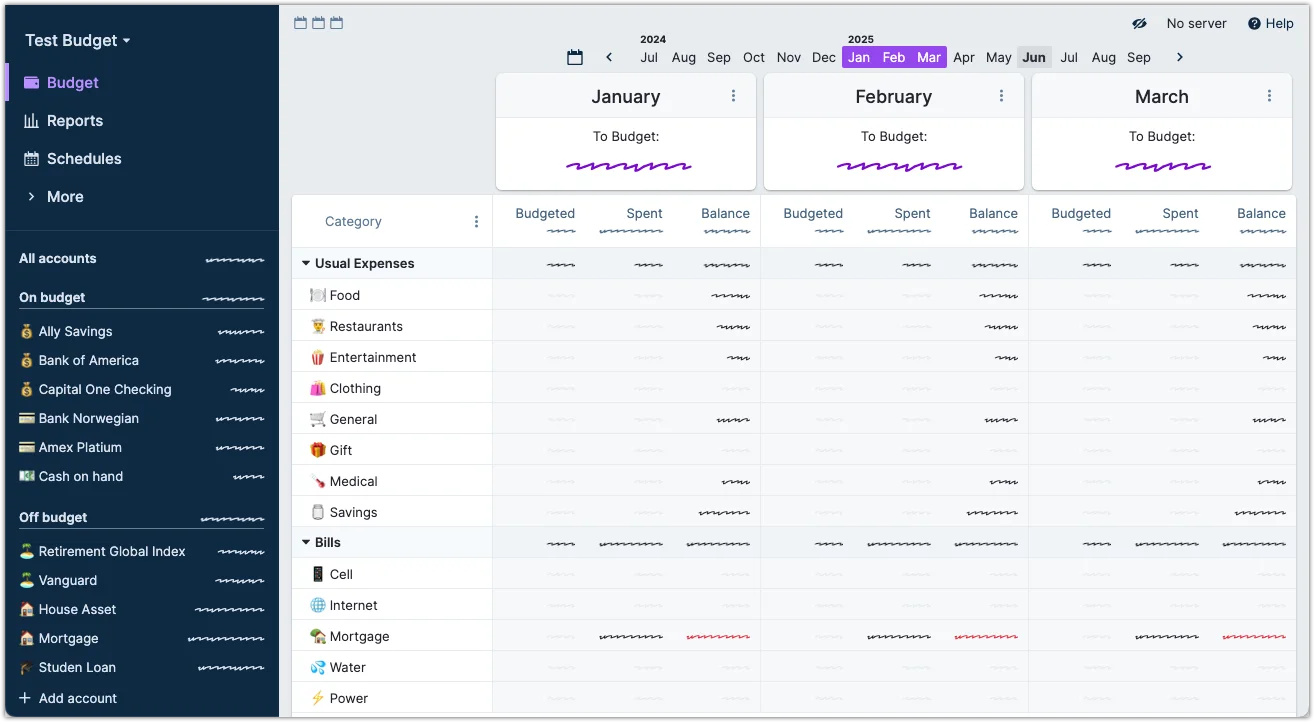
How to View Multiple Months at Once
In the top left of the budget, you will see this control:

This sets the maximum amount of months to render at once, and defaults to 1. If you want to view multiple months on the same page, click the boxes to increase the number.
This only controls the maximum number of months. If the app is too small to render all of them it will only render the months that fit on the screen.
Scramble and Hide Data
Actual Budget includes a privacy filter to help you obfuscate sensitive amounts on screen.
The privacy filter is visual only: it does not encrypt, delete, or alter your saved data or exports.
Be advised that when you hover over scrambled items, the amounts will be shown. This is a feature to help you see the actual amounts when you need them, but it may not be suitable for sharing screenshots or screen recordings.
Turn it on: Click the eye icon in the top-right corner of the app or use the shortcut
![]()
When enabled, only currency amounts are scrambled so you can take screenshots or share your screen without exposing real numbers.
What changes when the filter is on:
- Hidden/Scrambled: account balances, budgeted/available amounts, transaction amounts, totals in reports and widgets.
- Remain Visible: account names, category group and category names, payee names, transaction dates, notes/memos, flags, cleared status, and the presence of individual transactions (only the amounts are scrambled).
Turn it off: Click the eye icon or
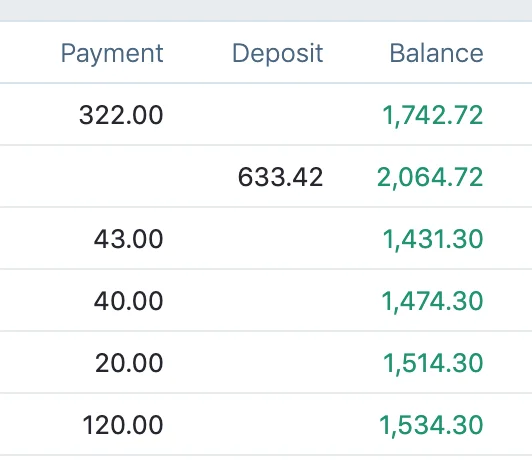
Show The Running Balance
A "running balance" is the balance of the account after every transaction over time. This is very useful for reconciling accounts with banks because you can see the balance at a specific date and use it to compare it with your bank. Note that the "Show running balance" option and column is only available when the list of transactions is sorted by date in descending order.
To enable this:
- Click on an account.
- Click on the 3 dots to show the actions menu.
- Select "Show running balance".
A new column should appear which shows the balance of the account after each transaction:
Using Emojis in Actual
Actual supports emojis in many places, including payees, categories, and notes. You can use emojis to add visual flair to your budget and make it more fun to use.
To add an emoji, you can use the emoji picker on your operating system, or you can copy and paste emojis from web sites like Emojipedia, EmojiDB or Get Emoji.
To scrub emojis out of an exported list, use the formula =REGEXREPLACE(text or cell reference, "[^\x00-\x7F]", "") in Excel or Google sheets.
By using emojis on the accounts, you can have grouping of accounts by type, such as credit cards, expenses, and savings.
Math Operators
When entering amounts for transactions, math operators can be used to calculate a final value.
For example when splitting a transaction, you can input 16.99*1.1 in the subcategory's payment field to apply a 10% tax rate to the amount, which would display $18.69 once entered.