GoCardless Setup
Client Version 23.7.0 and Server Version 23.7.0 or higher are required for this feature.
From July 2025 onwards, GoCardless has stopped accepting new Bank Account Data accounts. The below sign up instructions are now outdated, however, if you are an existing user, your account should continue to work.
Create SECRET and KEY for Actual
-
Create an account with GoCardless - https://bankaccountdata.gocardless.com/overview/.
-
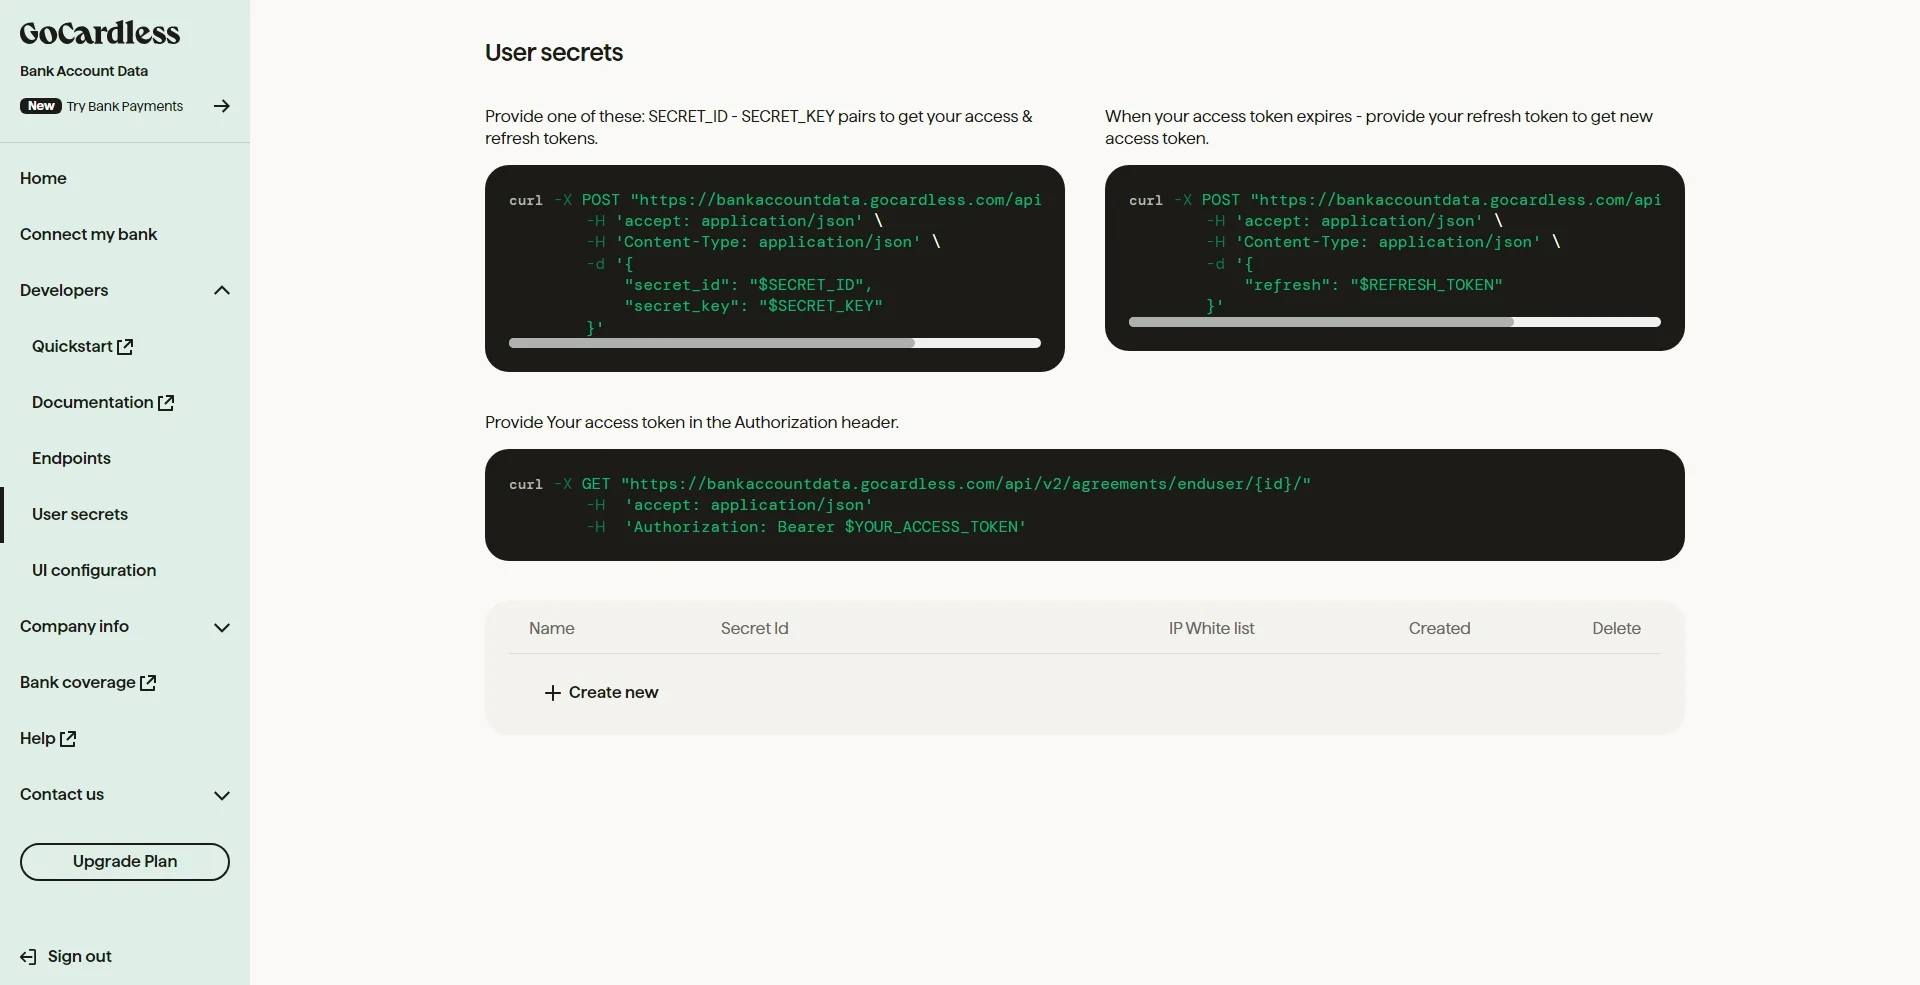
Log into your account dashboard at the same URL and select Developers->User secrets from the left side menu.
-
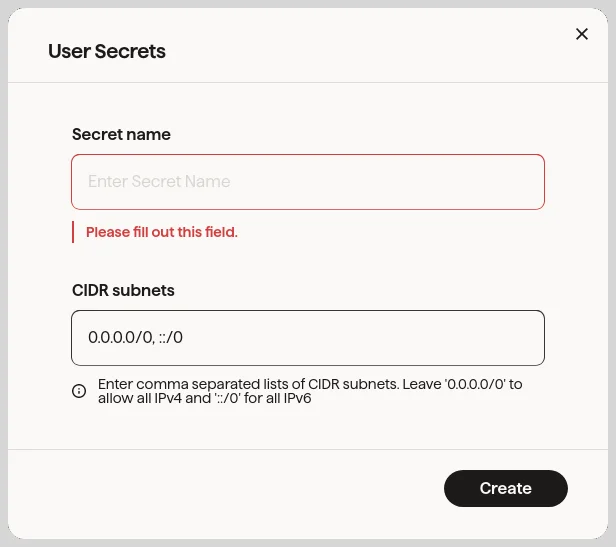
Click on the '+ create new' button at the bottom left.
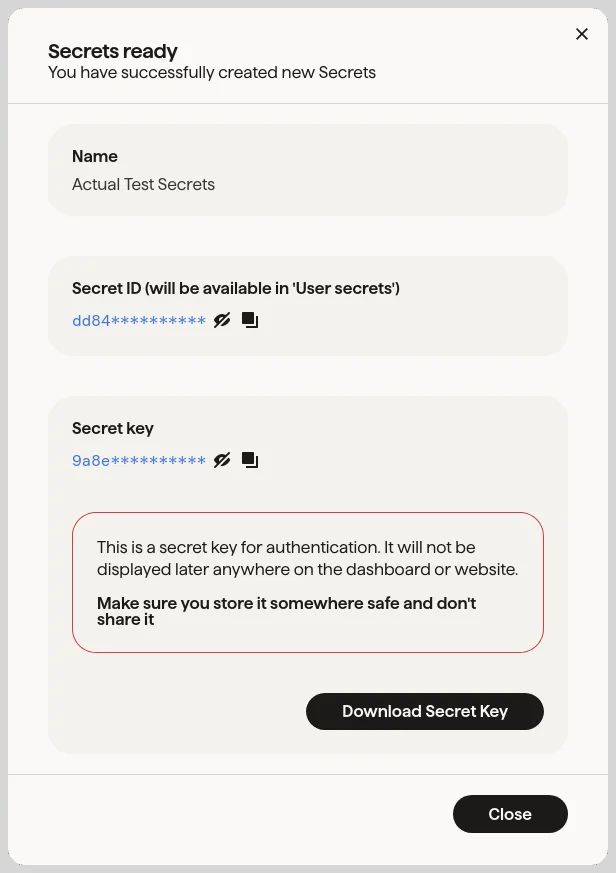
- Make sure you download your secrets file since the key will not be available to you again in the account dashboard
- These secrets will be used in Actual to make the bank sync connection
-
Enter a name for your secrets and click Create. This is only for you to easily identify them in the GoCardless User secrets overview
-
Download this file and keep it on your computer.
-
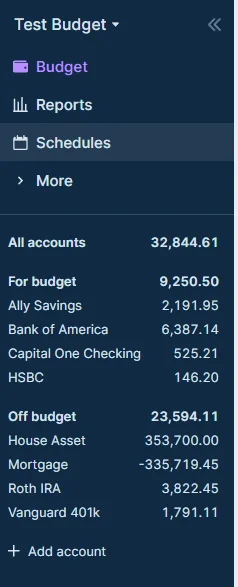
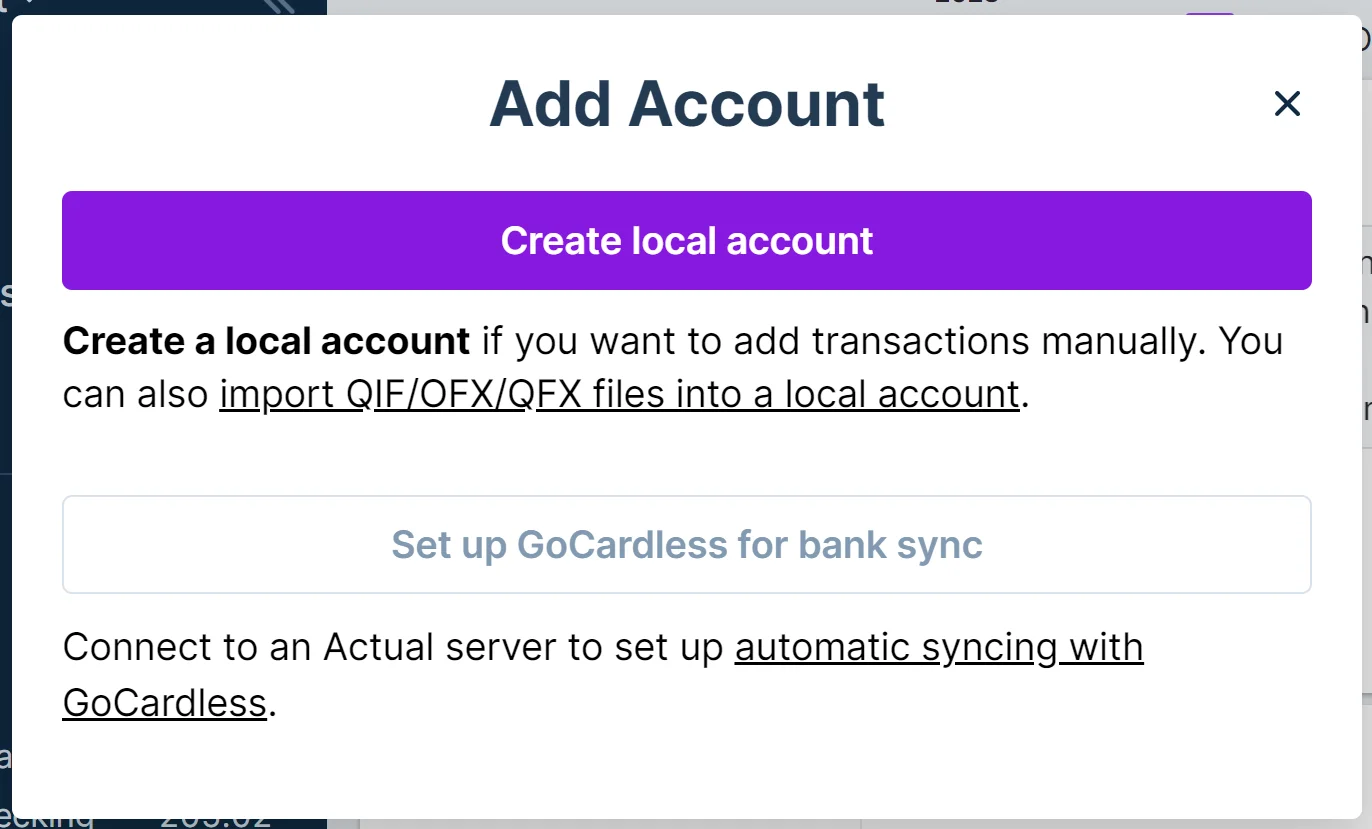
Back in Actual, click on "+ Add account" at the bottom of the sidebar.
-
Click "Set-up GoCardless for bank-sync."
-
You will be asked to enter your GoCardless secret ID and secret key. These values will be saved on the server, so you will only need to enter them once.

Link Accounts with GoCardless
-
Add the link to your accounts in actual (Existing or New).
-
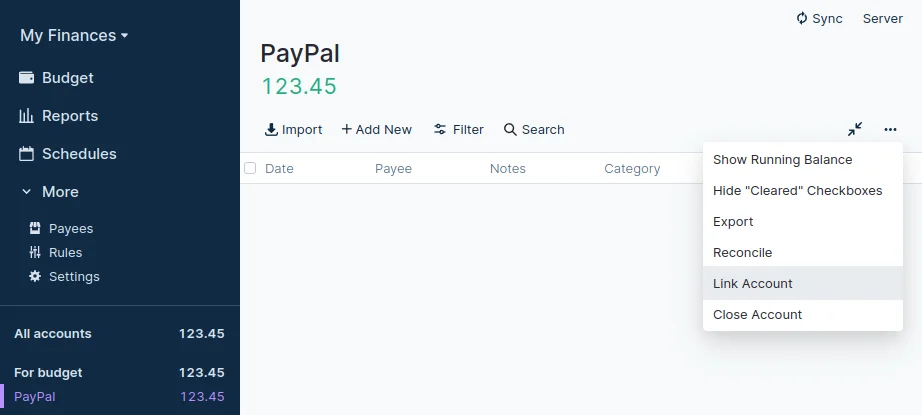
For an existing account, click on that account, select the ... (kebab menu) in the top right, and choose Link Account
-
To create a new account with bank syncing click on the '+ Add account' link in the left menu at the bottom
-
-
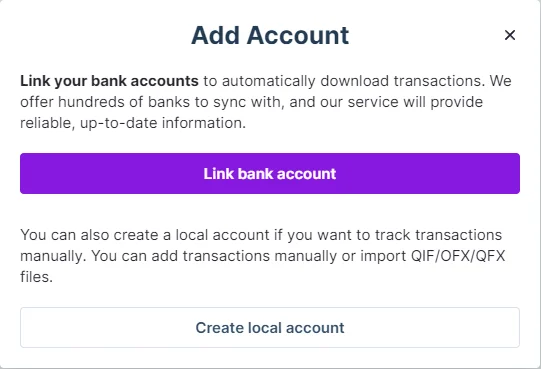
Select the Link your bank account button.
-
Select your country and bank from the list and click the Link bank in browser button.
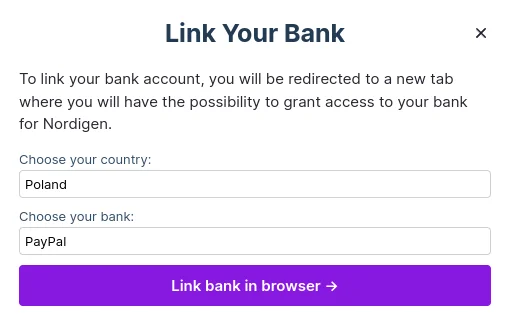
-
Clicking Link bank in browser will redirect you to a new tab to grant access to your bank for GoCardless.

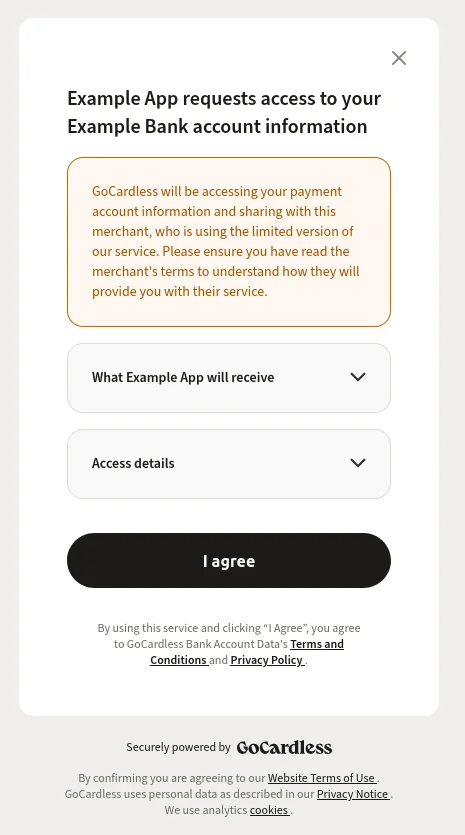
-
Select I agree to continue with setting up the connection.
-
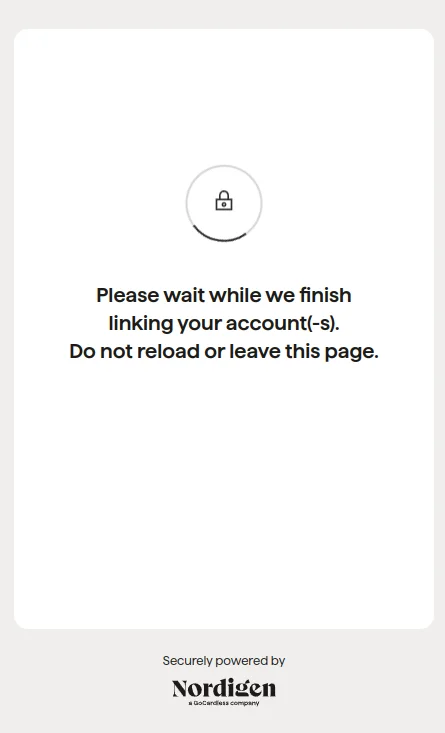
If your connection was a success, you will be able to click on the continue button which allows GoCardless to connect.

-
A progress indicator will display while GoCardless connects to your bank to get a list of your accounts.
-
Once the connection has been made, there will be a list of your accounts that you can choose from.

-
The final step is to select the account you want to sync and click Link account.

Frequently Asked Questions
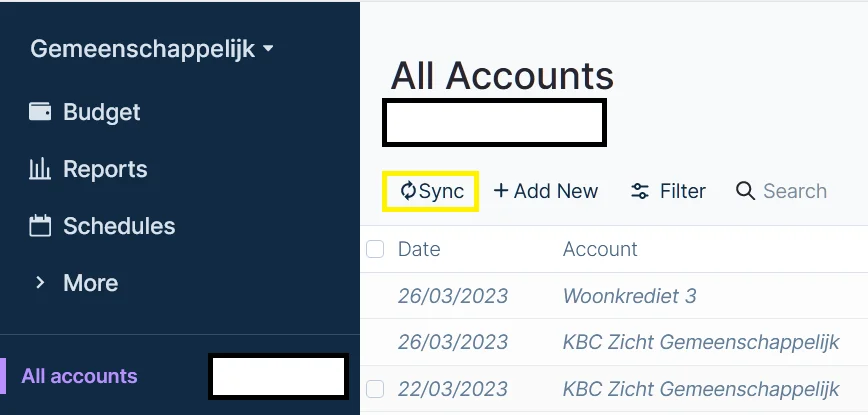
Does Actual sync automatically with your Bank?
At this moment, it is not yet possible for Actual to automatically sync with your bank. You need to do this manually by going to "All Accounts" and pressing "Sync".
The best way to start from scratch in Actual with GoCardless?
If you are setting up Actual for the first time, it is much easier not to try to pull in historic data. This has caused some users a lot of headaches with subsequent reconciliation. The following process may be more helpful:
- Set up your account in Actual specifying a correct opening account balance at a recent date.
- Link the account to GoCardless as above
- Sync the account with GoCardless. You should find that only transactions subsequent to the opening account balance entry are imported, making reconciliation easy.
How many times can I sync with GoCardless?
In the free tier, you can connect up to 50 banks per month. If one of your banks include more than one account inside (like credit and debit cards), it will still be counted as one connection. Every day you can sync each bank up to 4 times and there is no monthly limit though, just the daily one. For more information, see the Bank Account Data API Usage topic in the GoCardless FAQ.