Fly.io
In order to deploy Actual to Fly.io, you’ll need to use their command line interface from a terminal program. If you’ve never used a terminal before, don’t worry! We’ll walk you through every step of the process.
Setup
Creating a Fly.io Account
Fly.io has a "pay as you go" plan for new users with no monthly fee, with actual usage billed monthly. Paid plans start at $5/month and include a limited amount of free compute. See Pricing Details for more information.
To begin, you’ll need to sign up for an account. Go to Fly.io and click “Get Started,” then fill in the form. Note that Fly requires you to provide credit card details for sign up. See their docs on how they use credit cards for more information.
Accessing the fly command line tool
To install the fly command line tool on your local machine, you’ll need to start by opening a command line terminal on your computer.
- Windows: Open the Start menu and search for “PowerShell.” Click on the “PowerShell” app to open it.
- macOS: Open the “Terminal” app from the Utilities folder in your Applications folder.
- Linux: Open your terminal app of choice.
Next, follow the instructions to install the fly command line tool. When entering the commands, make sure not to include the $ character at the beginning of each line.
Detailed instructions with screenshots for Windows
Note: the exact commands you’ll need to run may have changed, check the website linked above to make sure you have the latest ones.
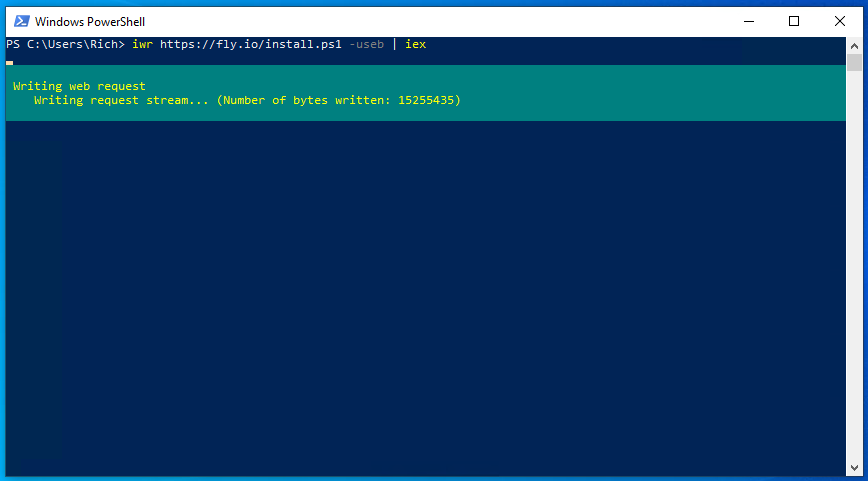
Open up PowerShell on your local machine and paste the following command into the window:
iwr https://fly.io/install.ps1 -useb | iex
Flyctl should start installing
Once done you should get a message saying
Run flyctl --help to get started: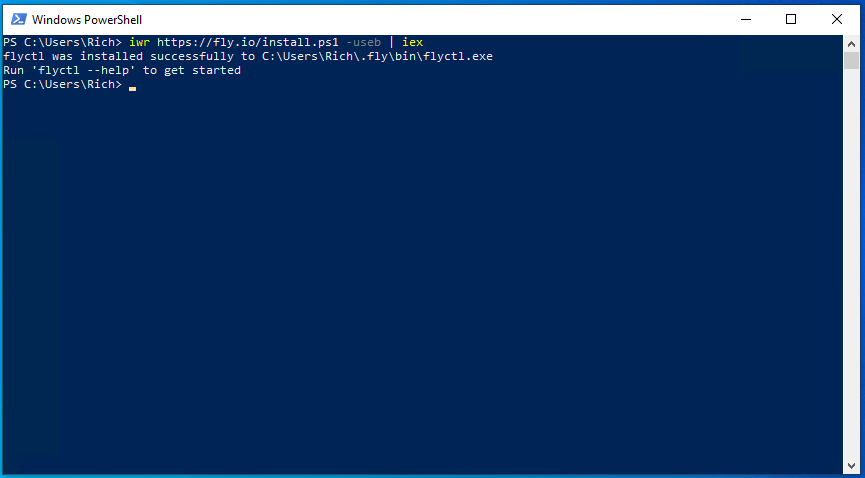
Detailed instructions with screenshots for macOS
Note: the exact commands you’ll need to run may have changed, check the website linked above to make sure you have the latest ones.
Additionally, you might get an error such as command not found: fly when you try to use the fly command later. If that happens, you’ll need to change the fly part of the command to ~/.fly/bin/fly instead.
In the Finder, choose “Go → Utilities” from the menu bar.
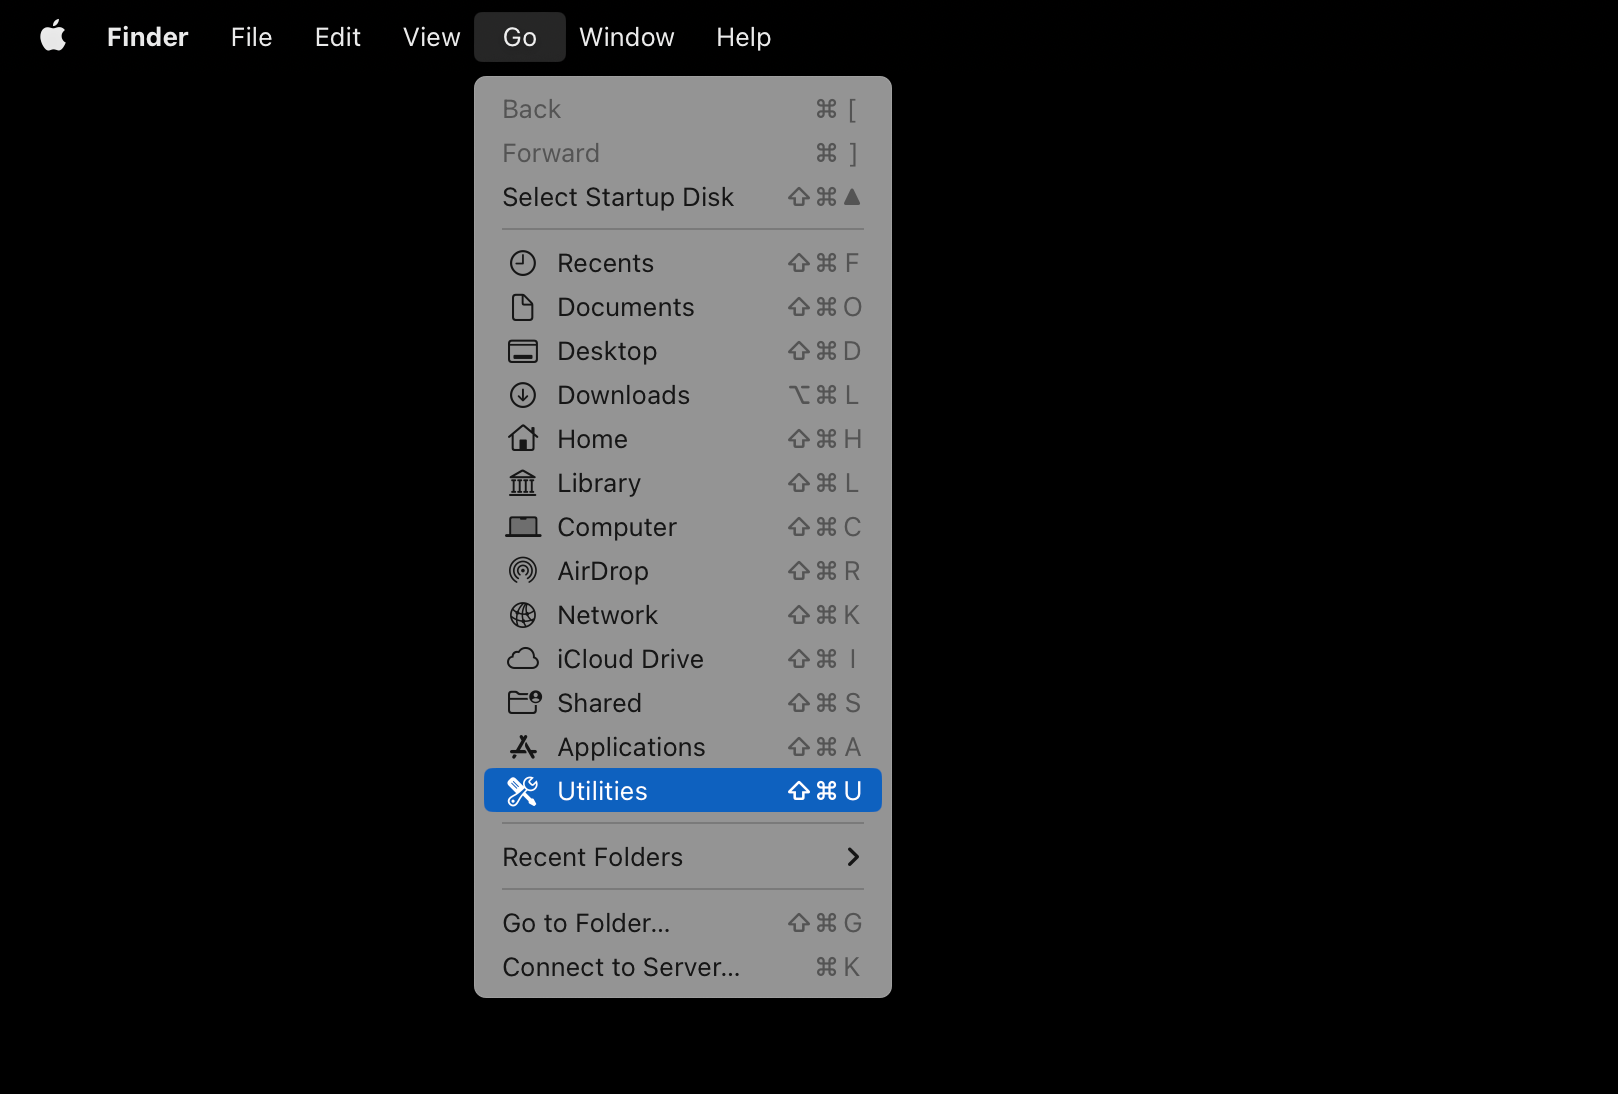
Scroll down in the list until you find “Terminal.” Double-click on it to open it.

A window should pop up that will look a bit like this. Note that some of the text may be different, or you may see the last line ending with a
$instead of a%. Both of those are normal.
Type or paste the following command to start the install. Make sure you press the
Enterkey on your keyboard after you’ve typed it in.curl -L https://fly.io/install.sh | sh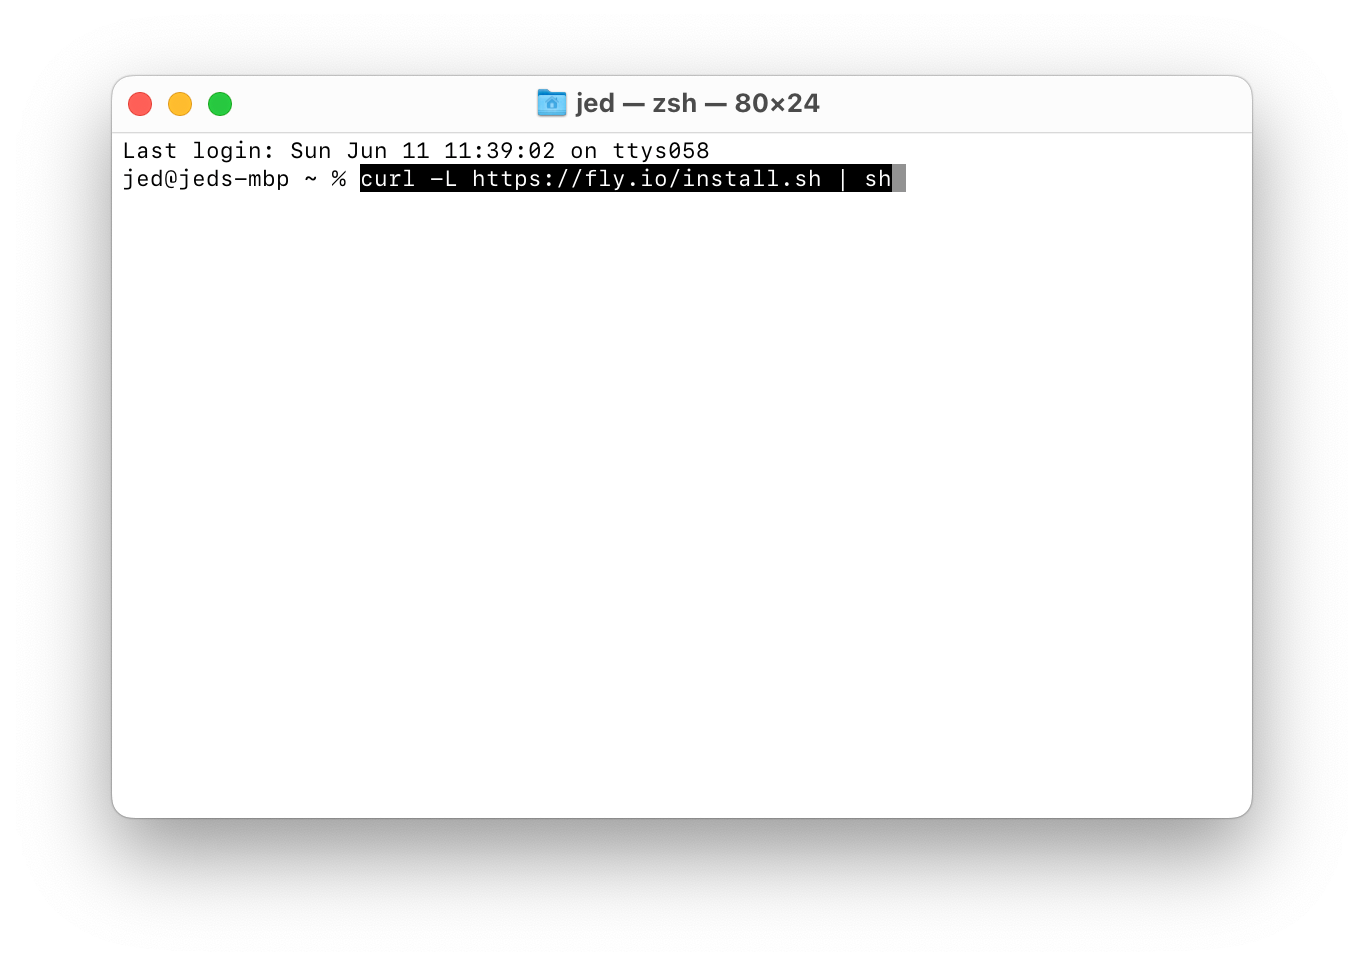
Once that has finished, you should see something like this:

Logging into Fly.io
Type fly auth login and press enter to open your browser and log your terminal into Fly.io.
Configuring the app
Now that you’ve gotten the CLI set up, you’re ready to deploy your app to Fly.io. First, you’ll need our template Fly configuration:
Local terminal
- Create a new folder somewhere on your computer. You can call it whatever you want.
- Download the template
fly.tomlfile by clicking here and move it into the folder you just created. - Switch back to your terminal and navigate to the folder you just created.
- On macOS, drag the folder from Finder to Terminal and hold the command key when dropping it into the terminal window.
- On Windows, type
cd, followed by a space, and then enter the full path (e.g. starting withC:\) to the folder you created. You can find the path in Explorer. - On Linux, use the
cdcommand.
Deploying the app
Now that you’ve got the configuration file set up, you’re ready to deploy your app to Fly.io. To do so, run the following commands. Wait for each command to finish before running the next one.
First, tell Fly about Actual:
fly launch --image actualbudget/actual-server:latest
This command will ask a series of questions:
- “An existing fly.toml file was found. Would you like to copy its configuration to the new app?” Type
yand press enter to use the config file we’ve provided. - “Choose an app name (leave blank to generate one)” Your app will be available online at
https://the-name-you-choose.fly.dev. You can choose any name you want, but it must be unique. If you’re not sure what to choose, you can leave it blank and Fly will generate a random name for you. Either type the name and press enter, or just press enter. - Choose a region for deployment This is the physical location where the server will be set up. You can choose any region you want, but we recommend choosing the one closest to you. Use the up and down arrow keys to pick a region, then press enter to choose the highlighted option.
- Would you like to set up a PostgreSQL database now? Type
nand press enter to skip this step. - Would you like to set up an Upstash Redis database now? Type
nand press enter to skip this step. - Would you like to deploy now? We’re not quite done yet! Type
nand press enter. We’ll deploy the app once we’re done.
Next, we’ll need to set up a “volume,” a place Fly can store your data so it doesn’t get lost when you restart or upgrade the server. To do so, run the following command:
fly volumes create actual_data
You may receive a warning message:
- “Warning! Individual volumes are pinned to individual hosts. You should create two or more volumes per application. You will have downtime if you only create one. Do you still want to use the volumes feature?” Actual is only designed to work with one volume, and downtime should only happen when you are manually updating Actual in the future. Type
yand press enter to continue.
You may be asked to pick a region. Select the same one you chose for the main server, if asked.
It may take a few seconds to create the volume. Once that’s done, you’re ready to deploy! Run this command to deploy your app:
fly deploy
The deploy can take a couple of minutes. Once it finishes, you’ll see a message like this:
No machines in group app, launching a new machine
  Machine 148ed726c17298 [app] update finished: success
Finished launching new machines
Updating existing machines in 'some-app-1234' with rolling strategy
  Finished deploying

Visit your newly deployed app at https://some-app-1234.fly.dev/
You can now visit your very own instance of Actual by opening the link on the last line of the output.
Configuring Actual
Now that Actual has been launched, you should be able to navigate to Actual using the URL provided by the Fly command above earlier.
Forgot the URL? Here’s how to find it
If you forget the URL, you can always find it by opening https://fly.io/dashboard in a browser. Click on the application you created:

Once you are in there, you should see Hostname section under Application Information - click the link

This will now open Actual so we can start configuring it.
Set a password - remember this, you will need it in the future.
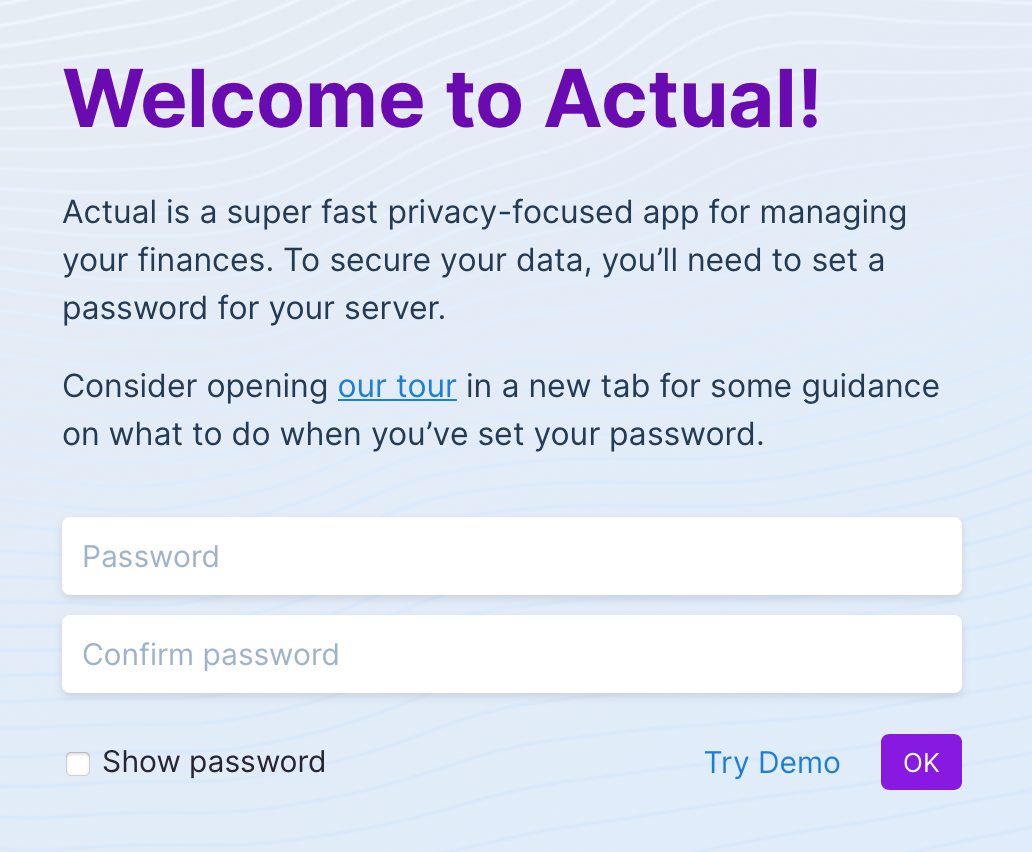
You’ll see a welcome screen. Either click “Import my budget” to import your budget from YNAB or the subscription version of Actual, or click “Start fresh” to create a blank budget file.
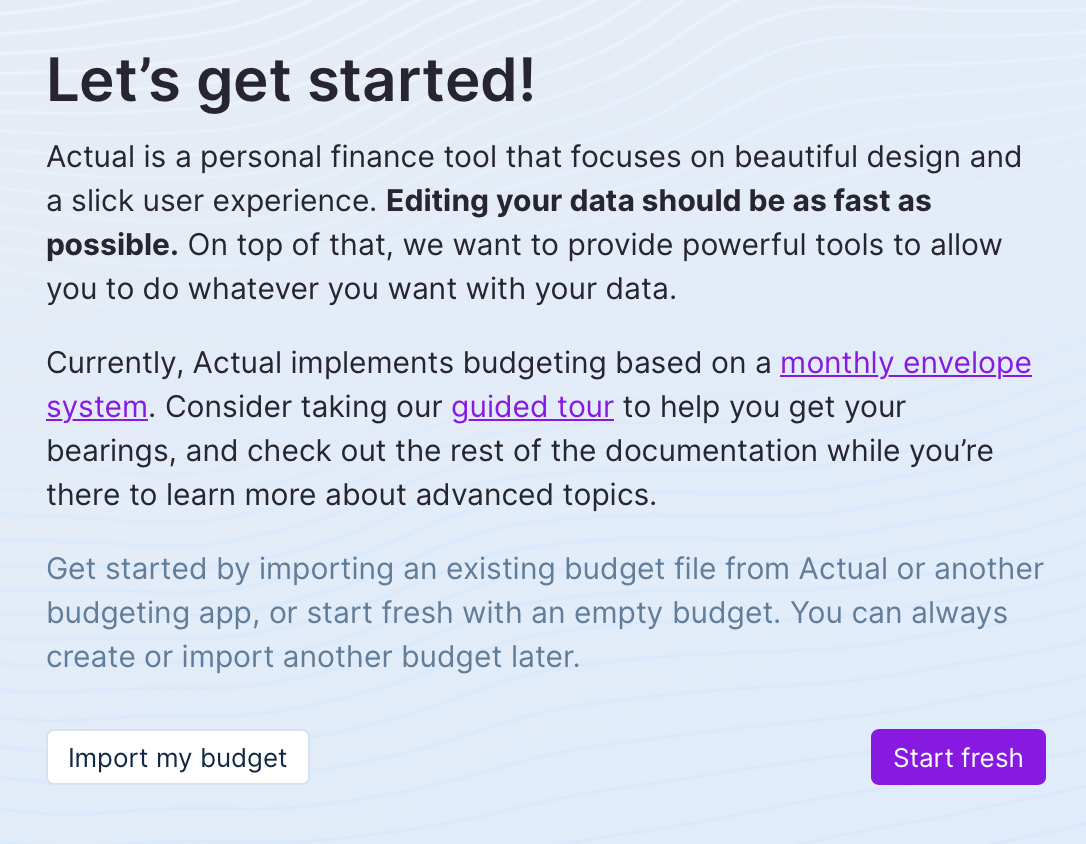
If everything went well you should then be taken to your very first budget.

Actual is now up and running. Congratulations! Consider checking out our tour next.
Updating Actual
When updates to Actual are released, you’ll need to re-deploy your app to get the latest version.
fly deploy --image actualbudget/actual-server:latest --app your-app-name
Local terminal
Open a terminal window and navigate to the folder where you set up Actual. Run the following command:
fly deploy
Cost Optimizations
If you're looking to lower your monthly compute costs for Actual Budget and can accept a 5-15 second delay when starting your budgeting session, you can add this feature to your services section and re-deploy.
[[services]]
  auto_start_machines = true
  auto_stop_machines = true
With these settings, Fly.io will automatically stop your instance after a few minutes of inactivity. When a new request comes in, the instance will start up again, which may take 5-15 seconds.
Frequent Issues
Q. I have deployed actual to Fly.io but I am being charged, why is this?
A. Pay as you go plans are billed for all usage monthly.
Q. How can I try out a beta/unstable version of Actual?
A. We publish unstable releases of Actual every day. These versions may have known or unknown issues that could corrupt your budget. If you’d like to try them out, follow the instructions to update above, but change
actualbudget/actual-server:latesttoactualbudget/actual-server:edge.