Filtering Transactions
Introduction
Filtering is a little known tool in Actual but is really quite a powerhouse. Filters go well beyond the simple Search tool and will allow you to create all sorts of useful transaction summaries. This will help you view various aspects of your spending, extract data for tax filing and so on.
Caveats
Inevitably, there are some restrictions but these offer a great opportunity for developers to improve Actual in the future:
- The only way to print the filtered results is via a screen shot (unless you save to a spreadsheet as a CSV file first)
- The columns of the filtered view cannot yet be sorted. But you can of course export the filtered results to a spreadsheet and play with them to your heart’s content.
- Split transactions do not behave well in the filtered view. The non-applicable part of the filtered results can end up getting added into the total.
- Filters are just one way of searching and viewing your data. There is still great scope for the future development of graphical style reports in Actual.
How to use the Filter tool
Well, having got that out of the way please don’t let any of this put you off. Filters are a great tool – and there is lots more scope for further development.
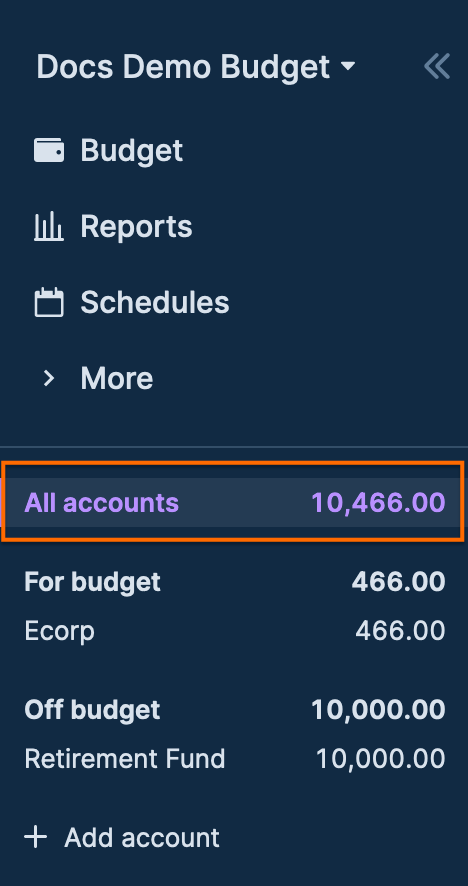
First go to the Accounts view. This is to be sure that you are picking up all relevant transactions, rather than those from just one Account or Credit Card.
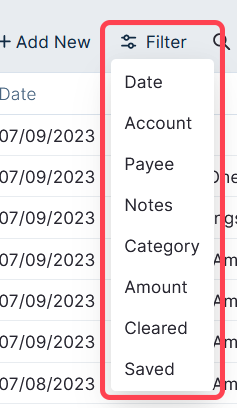
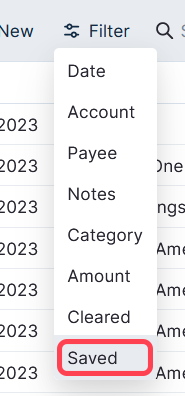
Now select Filter. You will see from this drop-down that there are a number to choose from:
The great thing is that you are not limited to just one Filter. You can select multiple filters. In effect stacking one upon another. An example will help illustrate this.
There are further options to choose within each area, in order to narrow the Filter still further. Here are three just to illustrate the choices – Dates, Categories and Notes:


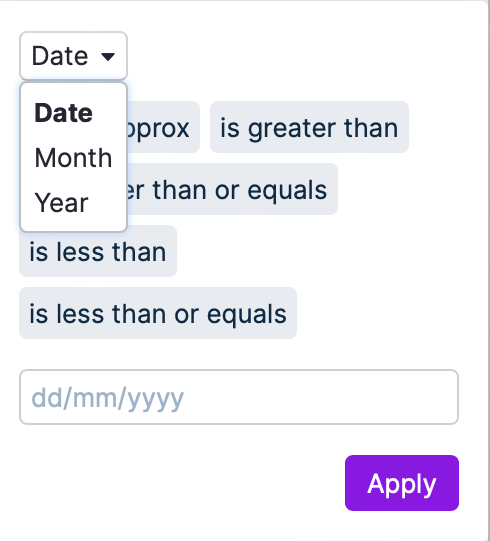
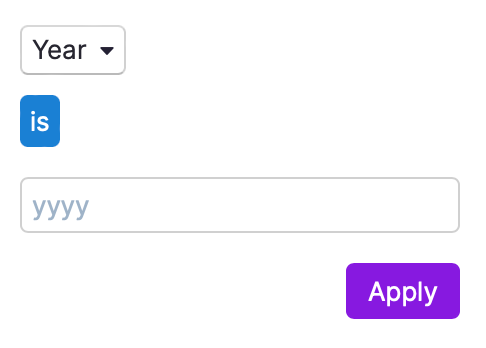
Note: There are further options available by clicking the down arrow under Date and Amount. The Date options are Year and Month. The Amount options are to choose between Inflow and Outflow.
Example
In this example we are finding out how much the Mercedes car cost to run during the 2021 calendar year. To enhance this analysis a Note of each vehicle owned was added to transactions in the “Car” category group. Adding such a note is made much easier by ensuring that the Note is added to each relevant scheduled (recurring) transaction. In this instance the Note was added using the tag symbol (#Merc) but the # is not needed. It is a personal preference. Alternatively, you could just be more granular in your creation of Categories.

Here is an image of the multiple filters that have been selected. In this example, these include a Date range, multiple Categories, and a Note.
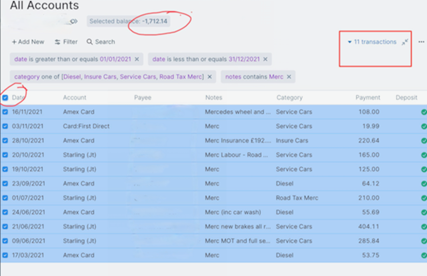
Now we want to see the total spent on the Mercedes car in 2021. This is shown at the top centre of the following image.
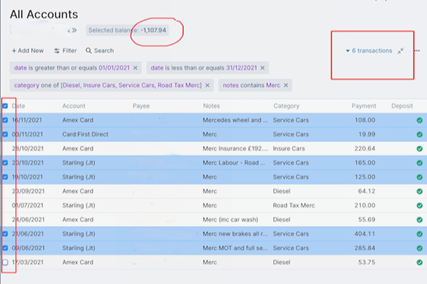
But what if we need to drill down further and calculate just the costs were for servicing this particular car? By deselecting the non-applicable transactions a revised total appears as shown below. Alternatively just remove the non-applicable category filters.
In the above Example we used the Date is greater than and Date is less than filters to illustrate the fine tuning that is possible. However, in this example of a simple calendar year it would have been quicker simply to click on the down arrow below Date and select as follows:
Saving Filters
Starting with update 27.7.1, users now have the ability to save filtered searches. Filtering transactions works exactly the same as in previous updates.
Before we get started, you'll have to go to the All accounts page and filter some transactions. See the section How to use the Filter tool above for more information on how this works.
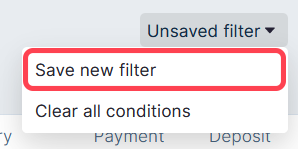
To save a search, simply click on the Unsaved filter dropdown button above the transactions table and click Save new filter.
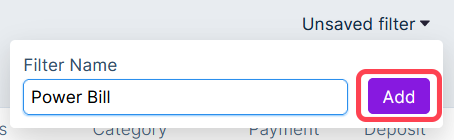
You'll then get a window that asks for you to name the saved filter. Type in whatever you wish the filter to be called and click the Add button.
When you want to re-visit a previously saved filter, go to the All accounts tab, click on Filter, and select Saved in the dropdown.
A new window should pop-up giving you the ability to select which saved filter you wish to revisit. Simply click on the saved filter or type in the filter's name and click Apply.

The saved filter will then display in the transactions table.
Modifying and Deleting Saved Filters
You also have the ability to modify or delete any of your existing saved filters.
First, pull up your saved filter. If you wish to make any changes to the saved filter, you can do that now by adding additional filter conditions.
To modify or delete the filter, click on the top-right dropdown menu. It will present you with a few options based on what actions you've taken. If you've modified the saved filter, you'll have the ability to rename, update, revert, delete, or save a new filter based on the criteria you have established. If no changes to the filter were made, you can rename or delete the saved filter entirely.
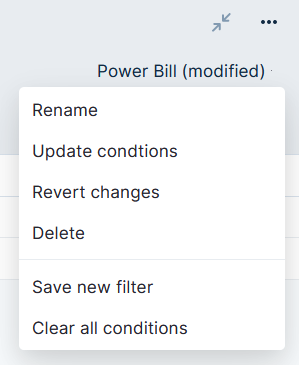
To clear out the any filtered transactions, click on the dropdown menu in the top-right corner above your transactions table and click Clear all conditions.